Supplementary Information
Here is an example of the fabrication process using Dip in Laser Lithography (DiLL).
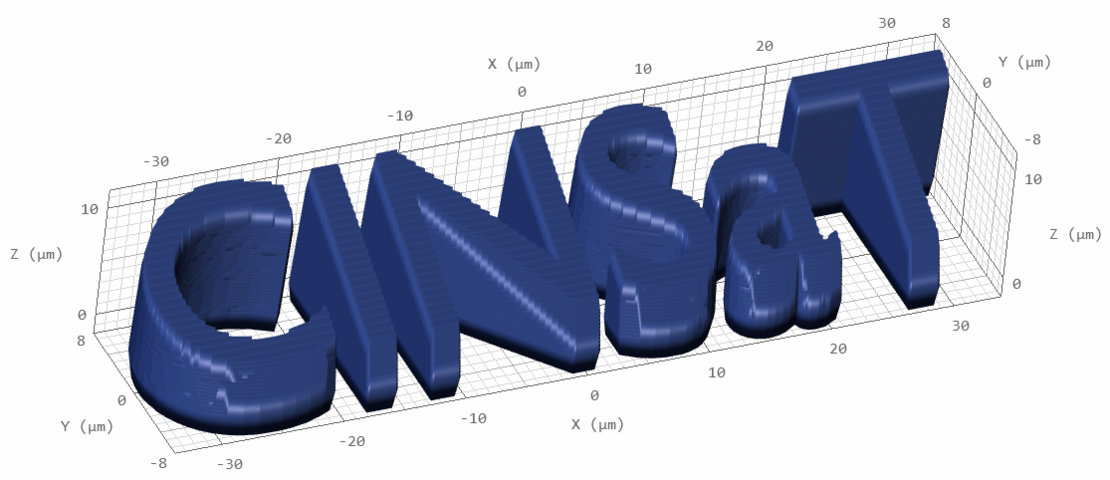
First off you have to create a 3D model. For our presentation we created a 3D CINSaT model.
For the printing process the system software divides the 3D model into layers. This step is called slicing and the thickniss of the layers can be adjusted manually by the user. The next step is to fill in the layers with the voxels. Here, the voxel size can be changed too. Both steps combined create the laser path during the printing process.

Finally the print job is saved and can be used for further coding. In our example here we created a dose test where the scanspeed and the laserpower is varied in an array. Below you can see the output.
The software also estimates the time of the printing process. In our case the estimated time is 3:25 min. However, later the real printing time was 2:17 min.
Supplementary Videos
These video clips show a simulation of the printing process and the printing process itself that can be observed with a camera.
Simulation
Print process of CINSaT Logo
Afterwards the remaining liquid resist is removed with a developer and the structures are finished. The dosetest shows that in our quick test there is one 3D structure with the optimal parameters for the scanspeed and laserpower combined.


Reversible Shape Changing 2D Structures
Results of tempering


The measurement results of width and length were plotted on a curve. We can clearly see that heat relaxes the strain caused by photoinduced stretching. From the slope of the curves, it can be seen that the structures are shrinking. We also can see that a lower concentration has a higher shrinkage.
Results of perpendicular expose


The measurement results of width and length were plotted on a curve. Instead of the shrinkage like in 1st method, we have a geometry change of the shape. At a higher conentration (30 mg/ml) the shape reverse to the initial state, after the second perpendicular expose, we have a shift in the direction of the width.
