Text & Media

Use text & media

The so-called rich text editor (RTE for short) offers a convenient way to visually design texts on websites and is based on the widespread Office programs in terms of operation and interface.
The most frequently used elements of the rich text editor are
- Block style: Style in which the paragraph is to be displayed (selection via the "Style" field). To do this, select the relevant part and select the style. If the style is to be removed, select it again and select the style a second time - this will reset it to "normal".
Intro text: Is used for a short description or an introductory sentence to make it easier to find in search engines.
Info text/warning: This can be used to emphasize information.
Buttons: If a link is to be emphasized, it can also be displayed as a button. For example like this
- Format: Display the current paragraph as a heading (h3 - h5) or standard (Normal).
- Display the text in bold, italics, underlined or strikethrough.
- Left-justify, center, right-justify or block-justify the text.
- Insertnumbering or bullet points.
- Chain symbol: Display selected text as a link (internal, external, file references) or email.
- Table symbol: Insert a table with the desired columns and rows.
- Insert a horizontal line.

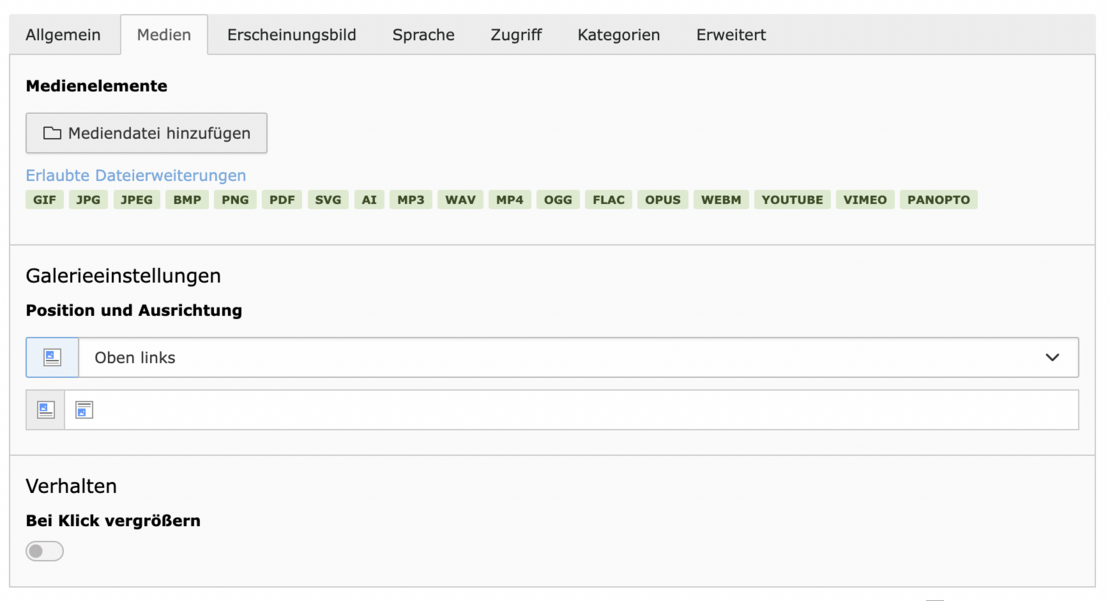
Image and graphic formats (PDF, GIF, JPG, BMP and many more) as well as audio or audiovisual formats (WAV, MP3, MP4,...) are integrated in TYPO3 via the "Text & Media" content element (here the second tab "Media").
Media selection
- Images that have already been entered in the TYPO3 file system can be selected here(information on file management in TYPO3). These media can be selected using the "Add media file" button. To do this, search for the corresponding photo folder in Fileadmin and select and save the desired file by clicking on it.
- In the gallery settings, align the file so that it is placed either above (top left) or below (bottom left) a text.
Photos must be large enough for responsive use. Image size 1920x1080 (4.3 or 16:9 format), but at least: > 1,111p wide
Image metadata
- File name should contain keyword: Word_Word_Word.jpg
- It is essential to enter the metadata "Title", "Alternative text" and a "Description" in the file list. These are mandatory requirements.
- If you want to display the picture credits vertically at the top right of the picture, you must enter them in the Metadata/Copyright tab.
- Please note: If you edit the image metadata directly in the Text&Media element, it will only be visible on the page in question. If, for example, you always want to include an info text with the image, use the file list.
Image editing
You can crop the image you have selected using the "Editor"

